Kodi Dolby Atmos Lossless Audio: The Complete Setup Guide

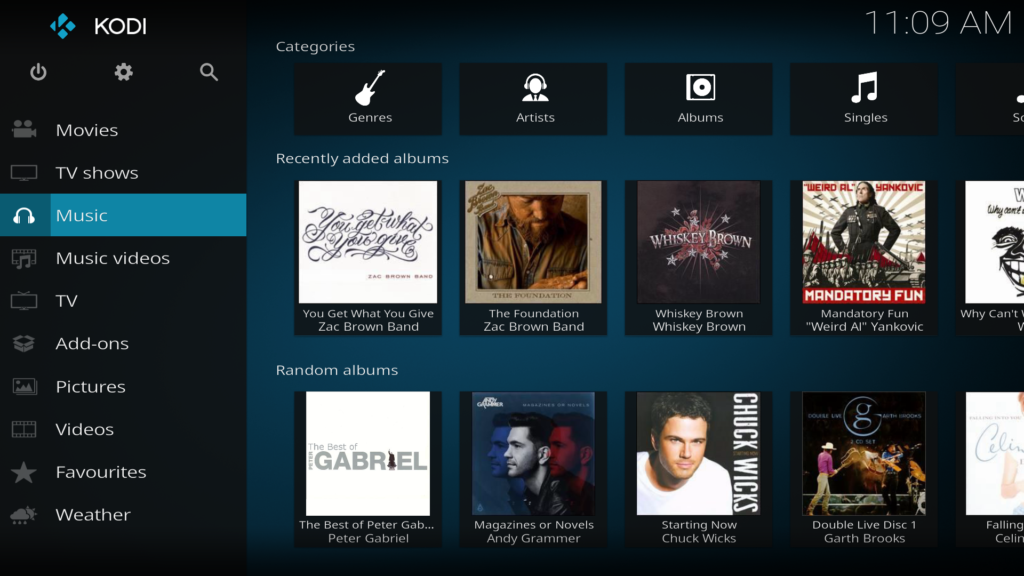
in 2026, Kodi and the shield are still your best bet for playing any format of high resolution audio. Getting Kodi Dolby Atmos lossless audio working correctly is one of the most common challenges in the home theater community. The good news: it works beautifully once you have the right file format, the right hardware, and Kodi configured correctly. This guide covers everything — from extracting your Atmos tracks to getting them playing back through your AVR either via a usb drive plugged in to your device or over your lan. (Ethernet preferred if possible)
- Kodi 19 (Matrix) or later — Atmos in M4A requires Kodi 19+
- A device capable of HDMI bitstream passthrough, an Nvidia Shield, Intel NUC running Windows, or a PC/Mac connected via HDMI.
- An AVR (Denon 3800H is a great choice) or soundbar with Dolby Atmos decoding connected via HDMI
- Lossless Extract to extract your Atmos tracks from Blu-ray or MKV
- Your Blu-ray music disc or MKV source file
Note: Kodi on Android TV (built-in to most TVs) cannot bitstream TrueHD. For Atmos passthrough you need a dedicated device — the Nvidia Shield while old now is still the most popular choice.
The Best File Format for Atmos in Kodi: M4A
The best format for Dolby Atmos music in Kodi is M4A. Here’s why:
- M4A files are read into the Kodi music library just like FLAC — they appear with album art, track names, and metadata
- Kodi bitstreams the TrueHD Atmos inside the M4A container directly to your AVR over HDMI
- No special configuration or playercorefactory file required (Kodi 19+)
- Tagging works with standard tools (Lossless Extract, Mp3tag, etc.)
Lossless Extract is currently the only macOS application that can export Dolby TrueHD Atmos lossless audio directly to an M4A container and I’m a mac guy.
Alternative: MKA Files
MKA (Matroska Audio) is another viable option. MKA preserves the TrueHD Atmos codec like m4a, unaltered and bitstreams correctly in Kodi. The tradeoff: Kodi does not read tags from MKA files the same way it does from M4A. You’ll need a cuesheet file alongside your MKA for Kodi to display track names and navigate chapters.
For gapless albums (where one track flows into the next without silence Like Dark Side of the Moon), MKA with a cuesheet is actually preferable over split M4A files — M4A tracks do not play back with true gapless playback in Kodi unless exported as one .m4a file, So Dark Side of the Moon for example is better gapless with a cuesheet.
Summary:
- Split tracks, easy tagging, music library integration → M4A
- Gapless albums, cuesheet navigation → MKA or M4A
Step-by-Step: Extract Atmos from Blu-ray or MKV, and SACD DSD with Lossless Extract
Step 1 — Open Your Source
Open Lossless Extract and load your Blu-ray disc, BDMV folder, DVD-Audio, SACD, or MKV file. Lossless Extract will display all available audio tracks, including the TrueHD Atmos track. Separate SACD ripping guide here
Step 2 — Use the Playback Preview
Before extracting, use Lossless Extract’s built-in playback preview to audition the ATMOS track and confirm it’s the one you want. Some discs have multiple mixes in ATMOS so you’ll need to preview to verify.
Step 3 — Choose Your Output Format
Select M4A as your output format for Kodi music library integration, or MKA if you prefer cuesheets and gapless playback.
Step 4 — Tag Your Files
Use Lossless Extract’s one-click audio fingerprinting to automatically identify the album, pull in artwork and track names, and apply tags before extraction. This saves significant time compared to tagging afterwards.
Step 5 — Extract
Click Extract. Lossless Extract performs a direct stream copy — no transcoding, no quality loss. The Atmos metadata is preserved exactly as authored.
Configuring Kodi for Atmos Passthrough
First your going to need to turn on expert mode otherwise some of the necessary options won’t show. On the left bottom sidebar in Kodi cycle thru the three option modes until you get to expert. Then,
In Kodi, go to Settings → System → Audio:
- Set “Audio output device” to your HDMI output connected to your AVR
- Enable “Allow passthrough”
- Enable “Dolby TrueHD capable receiver” — ON
- Enable “Dolby Atmos capable receiver” — ON (if your AVR supports it)
- Enable “DTS-HD capable receiver” — ON
- Set “Number of channels” to your setup (passthrough handles the rest — your AVR decodes the multichannel signal)
Important: If you connect Kodi directly to your TV and expect Atmos passthrough it’s not going to happen. TVs are not compatible with TrueHD and in most cases DTS-HD MA. Best case they will downmix. Always route HDMI through an Atmos-capable AVR or soundbar.
Recommended Hardware for Kodi Atmos Playback
Nvidia Shield Pro
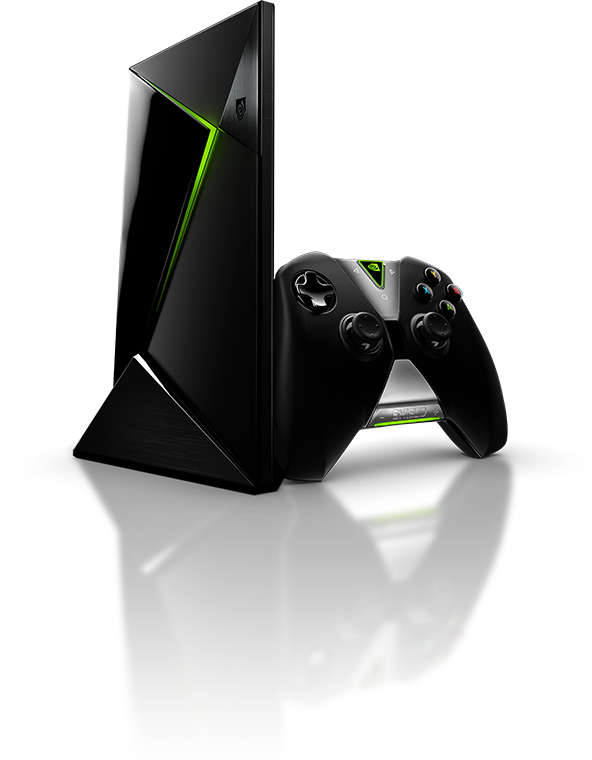
Still the most popular choice in 2026 in the audiophile community despite it’s hardware being long in the tooth. The Shield Pro Supports full TrueHD Atmos and all high-resolution format bitstream passthrough. It runs Kodi smoothly, and connects directly to your AVR via HDMI. Tip: Don’t get the 2017 Shield if your buying used. Make sure you get the 2019 or later Model. Also, avoid the tube it’s 32bit only and has sub par performance. Take it from me I have one and it stutters.
Apple TV 4K
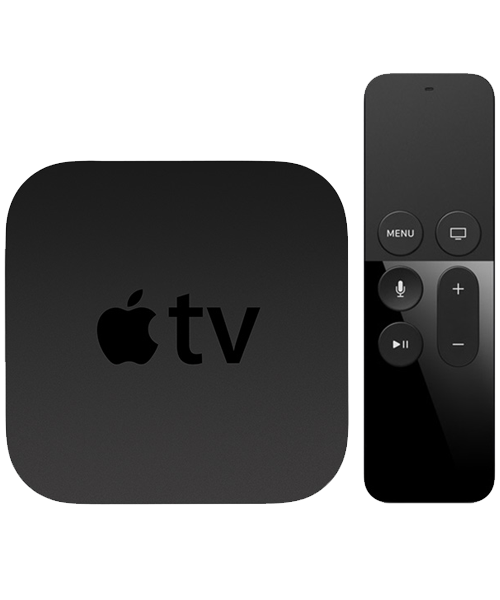
The Apple TV does not support Atmos passthrough and has limitations for hi res audio-only music library playback. Better suited for video-first setups. I love apple but the closed garden doesn’t support lossless high resolution audio pass-through at all and probably never will.
Windows PC / NUC connected via HDMI
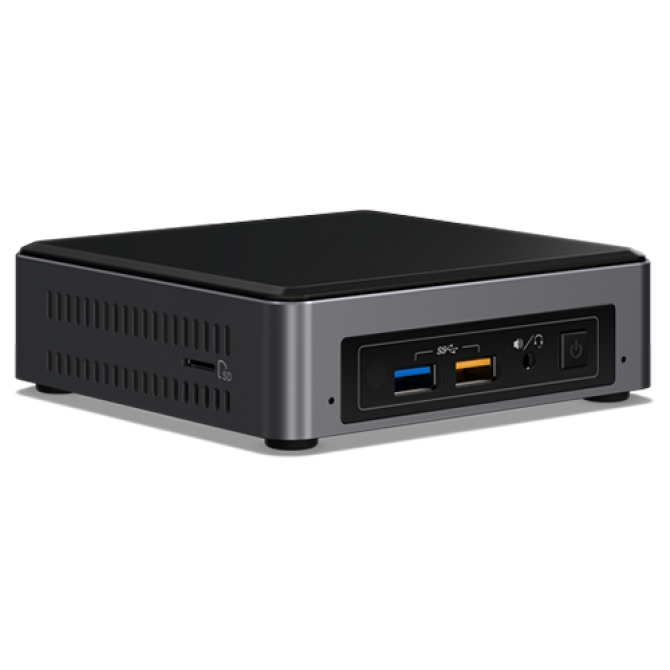
The second best choice after a Shield. Fully supported. Runs Kodi on Windows with HDMI out to your AVR — TrueHD Atmos and all codecs bit-streaming correctly. However it costs more, you’ll need a remote, and It’s not as plug and play as a Shield.
Raspberry Pi 4/5 running LibreELEC
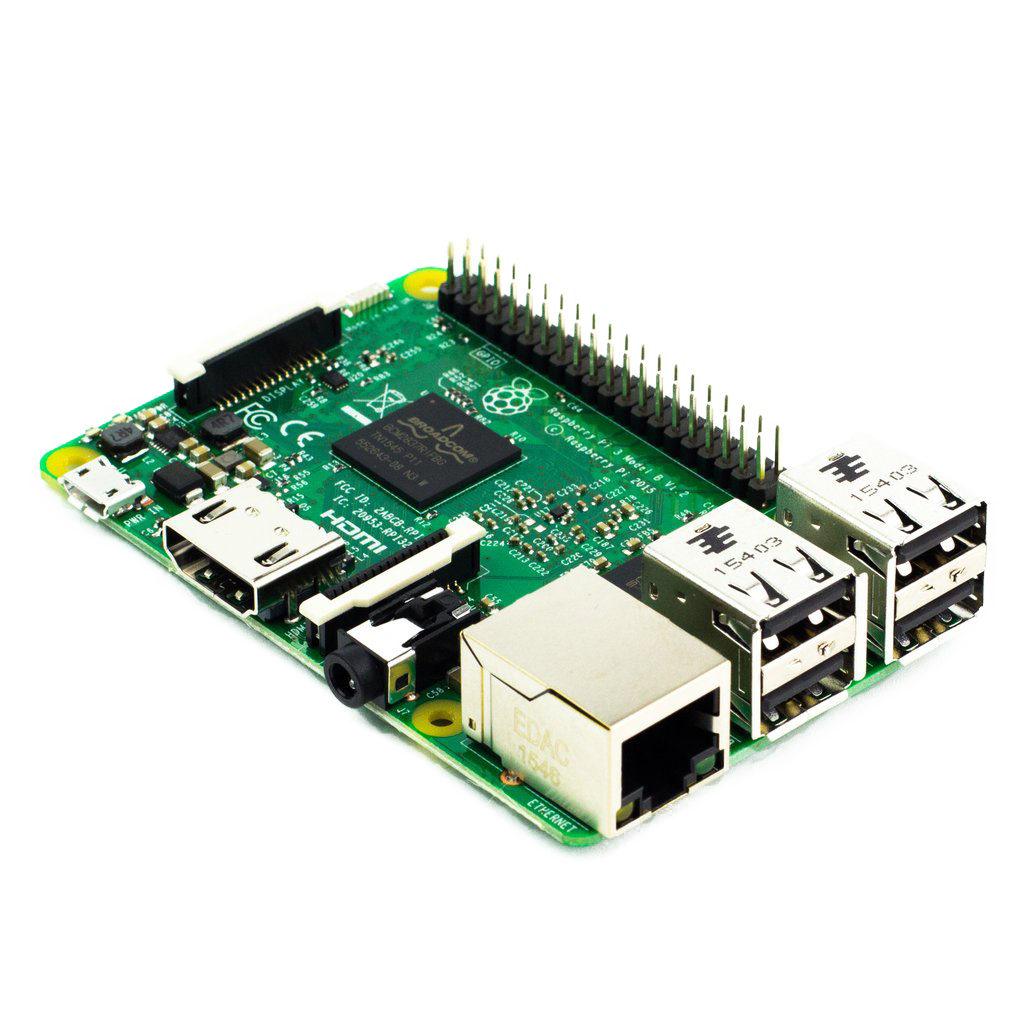
A cost-effective 3rd option. LibreELEC (a Kodi-focused Linux distribution) supports TrueHD passthrough on the Pi 4 and Pi 5 with a compatible HDMI connection. Honestly though it’s not going to have great performance for BDMV folders and will probably stutter with large 7.1 atmos files or 6CH SACD iso files.
Sharing your Atmos files over LAN from Mac or PC to the Nvidia Shield Pro
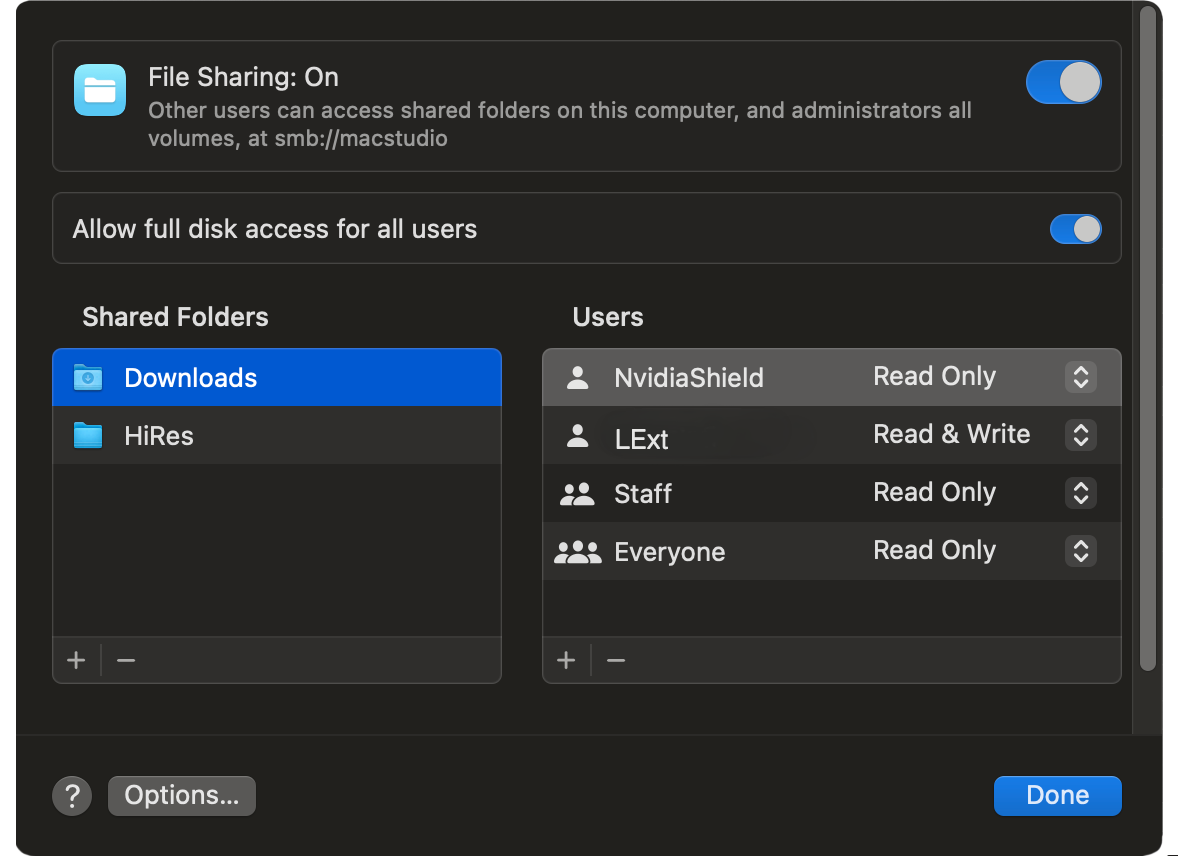
Create a samba share on Mac or PC
After ripping your collection to disc on Mac and PC, the easiest way to share your backed up high resolution audio files is to create a samba share. Then on your Shield in in the settings – storage, connect to that share with your login credentials. That’s it! The shared folder will then automatically appear in Kodi. You do not need to connect to the share in Kodi, just in the Shield settings – storage area. Once that is done, in Kodi scan the folder and add it to your library and you’re in business. If you listen to SACD you’ll need to enable the SACD Playback addon in kodi. All the other formats will be good to go.
Frequently Asked Questions
Why is my Atmos track playing as stereo in Kodi?
The most common cause is connecting Kodi to a TV rather than directly to an AVR. TVs strip TrueHD and output stereo only. Connect your playback device directly to your Atmos AVR via HDMI.
Can I use VLC or JRiver instead of Kodi?
VLC and JRiver cannot play TrueHD Atmos from M4A containers — this is a known limitation. For M4A Atmos playback, Kodi is the recommended player. JRiver users should use MKA format instead.
Does M4A Atmos work on older Oppo players?
No. Oppo players do not recognise Atmos metadata in M4A containers. For Oppo playback, use MKA or direct stream copy files instead.
What’s the difference between Dolby Atmos from a Blu-ray and streaming Atmos?
Blu-ray Atmos is encoded in lossless TrueHD — bit-for-bit identical to the studio master. Streaming Atmos (Netflix, Apple Music, Tidal) uses lossy Dolby Digital Plus and is comparable to high quality multichannel mp3. For the best possible audio quality, lossless extraction from Blu-ray is unmatched currently.
Lossless Extract is the only Mac app that exports Dolby Atmos directly to M4A for Kodi.