MKV Audio Extraction

Lossless Extract is primarily intended for bluray audio discs but you can rip movie sound tracks as well. If you have a collection of MKV files of concert films, music documentaries, or movie rips — there’s a good chance they contain high-quality lossless audio tracks that you’re never actually listening to. Most people play MKV files through a media player and never think twice about the audio inside. But if that file has a Dolby TrueHD, ATMOS, DTS-HD MA, or PCM track, you’re sitting on audio quality that’s identical to the original disc.
This guide covers how to extract those audio tracks from MKV files using Lossless Extract — including how to split by chapter, choose the right output format, and handle multi-track files where multiple languages or commentary tracks are present.
Why Extract Audio from MKV?
MKV (Matroska Video) is a container format — it’s a wrapper that can hold video, multiple audio streams, subtitles, and chapter markers all in one file. When someone rips a Blu-ray disc to MKV, the lossless audio track usually comes along for the ride. That means your MKV file might contain:
- Dolby TrueHD / Atmos — the highest quality Dolby format, identical to disc
- DTS-HD Master Audio — lossless DTS, full studio quality
- PCM (LPCM) — uncompressed raw audio, exactly as recorded
- Multiple language tracks — often English, Japanese, French, German, and more
- Commentary tracks — director or cast commentaries as separate audio streams
Extracting these tracks gives you standalone audio files you can play in any music player, use in a home theater setup, archive, or add to your library with proper metadata.
What You Need
- An MKV file containing audio you want to extract
- Lossless Extract for macOS or Windows
- Enough disk space for the output — lossless FLAC files run around 30–50MB per minute for stereo
Step 1 — Add Your MKV File
Open Lossless Extract and drag your drop your MKV file into the app window. You can also use File → Open (⌘O on Mac) or drag it onto the app icon in the Dock — the app will launch and load the file automatically even if it wasn’t already open. Why you still can’t drag files on an app icon in the windows task bar to open them I don’t understand, but that’s for another post.
Once added, the file appears in the sidebar on the left. Click on the filename to expand it and see all detected audio streams.
Step 2 — Review the Audio Streams
Lossless Extract scans the file and lists every audio stream it finds. For each stream you’ll see:
- Codec — TrueHD, DTS-HD MA, ATMOS, PCM, AC3, etc.
- Channels — 2.0 stereo, 5.1, 7.1 surround
- Sample rate — 48kHz, 96kHz, etc.
Lossy streams like AC3 (Dolby Digital) and DTS core are hidden by default since you’re probably after the lossless tracks. If you specifically need them, enable Show lossy streams in Settings.
Before committing to an extraction, you can preview any stream by clicking the play button (▶) next to it. The built-in player supports full seeking so you can jump to any point in the audio to check quality or confirm it’s the right track.
Step 3 — Select Your Streams
Check the box next to each stream or chapter you want to extract. You can select multiple streams from the same file — for example, extracting both the English TrueHD 7.1 and the Japanese PCM 2.0 stereo track in one pass.
Step 4 — Choose Your Output Format
Use the dropdown next to each stream to set the output format. Here’s a quick guide:
| Stream Type | Recommended Format | Why |
|---|---|---|
| PCM / LPCM | FLAC | Lossless compression, best compatibility |
| Dolby TrueHD / Atmos | M4A | Preserves Atmos object metadata Plays in Kodi but not VLC |
| DTS-HD Master Audio | M4A / MKA | M4A , MKA to keep original codec both will play in Kodi |
| Lossy DTS / AC3 | M4A / MKA | Skip unless there is no TrueHD or DTS-HD |
If you’re not sure, FLAC is a safe default for PCM streams and M4A is the right choice for TrueHD or DTS-HD MA. The app will only show valid format options for each stream — M4A won’t appear for a PCM stream, for example.
Step 5 — Extract by Chapter or as One File
This is where MKV extraction gets particularly useful. If your MKV file has chapter markers — which most concert films and many movies do — Lossless Extract gives you two options via the Gapless File checkbox in the bottom toolbar:
- Unchecked (default): Each chapter is extracted as its own file. A concert film with 14 songs becomes 14 individual FLAC files, named by chapter. Perfect for adding to a music library.
- Checked: The entire stream is extracted as one continuous file. Good for film scores or live recordings where you want seamless playback.
If you use the Gapless File option, you can also enable CUE Sheet generation at the same time. This creates a companion .cue text file alongside your audio that marks where each chapter begins. Players like Kodi, foobar2000, VLC, and JRiver can read the CUE file and let you jump between tracks within the single audio file — the best of both worlds.
Step 6 — Run the Extraction
Click the Extract Audio button at the bottom of the window. A progress bar shows the extraction status. When complete, your files are saved to the output directory shown at the top of the window. Double-click the output path to open it in Finder or Explorer.
Adding Metadata After Extraction

Extracted chapter files will be named based on the source filename and chapter number (e.g. ConcertFilm - Chapter 01.flac). If you want proper track names, artist tags, and artwork, use the Tags button in the bottom toolbar to open the metadata panel or click the audio finger print button to the right of the file name.
Search by artist and album name and Lossless Extract will pull matching results from MusicBrainz. Select the right release, and clicking Save Tags to Files will embed the artwork, rename the files by track title, and add artist, album, year, and track number metadata — all in one step.
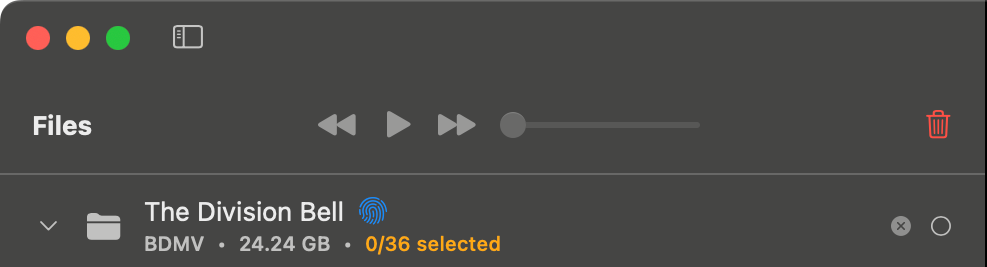
For files where MusicBrainz doesn’t find a match, you can also use audio fingerprinting. Click the fingerprint icon next to any track and the app will analyze the audio content and query the AcoustID database to identify it automatically.
Common Questions
My MKV only shows lossy streams — where’s the lossless audio?
Not every MKV has lossless audio. If the file was encoded with just AC3 or DTS core, that’s all there is. Check the Console tab at the bottom of the app — it will show you exactly what was detected during the scan.
Can I extract audio from multiple MKV files at once?
Yes. Drag multiple MKV files into the app and they’ll all appear in the sidebar. You can select streams from each file independently and then run a single extraction pass for all of them.
The chapter names are just numbers — can I rename them?
Yes. Double-click any chapter name in the sidebar to edit it before extracting. The custom name will be used in the filename and embedded in the metadata. You can also let the Tags panel or audio fingerprinting handle renaming automatically after extraction.
What’s the difference between MKA and FLAC output?
MKA is a Matroska Audio container — it wraps the original audio stream without converting it, so what was TrueHD stays TrueHD. FLAC converts the audio to PCM and then compresses it losslessly. For PCM source material they’re indentical in quality. For TrueHD or DTS-HD MA, MKA/M4A preserves the original codec while FLAC converts it — use M4A instead if you want lossless compression while preserving the Atmos metadata.
Ready to Extract?
MKV extraction is one of the simplest workflows in Lossless Extract — drag in the file, pick your streams, and you’re done in seconds. If you’ve got a backlog of concert films or high-quality rips sitting on a hard drive, it’s worth going through them to pull out the audio properly. Remember you can also drag in serveral at a time and batch export.